Saturday 14 March 2015

March Week Three: Driver's Ed

Here is how my page this month turned out:

The outside was created entirely with sprays. Home-made yellow, Dylusions in teal and jade and an orange Glimmermist:

After I sprayed the A4 piece of water colour paper, I trimmed it down and cut it in half and used masking tape to turn it into doors on a 10" square piece of watercolour paper:

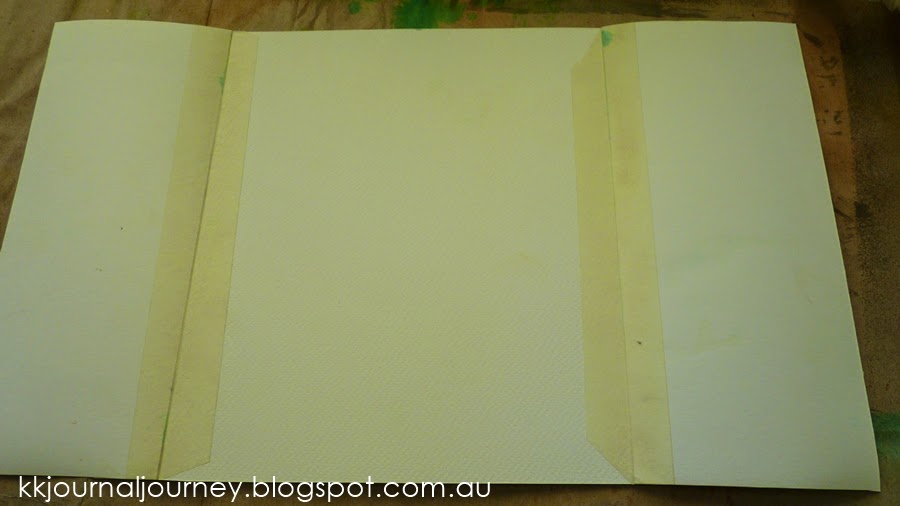
I then sketched out my idea on the inside page and covered the entire inside with two thin coats of white gesso. I could still see my sketch, and the gesso really helped to seal the masking tape and keep the mediums I used on the inside from leaking through to the front:

After sketching the face in, I let the page form on its own. I knew that I was creating a nature-inspired piece, and the lady I drew represents Mother Nature, or an earth goddess. The outside is bright and summery, and the inside ended up being quite dark and moody (supposed to represent that Mother Nature isn't all sunshine and rainbows, just like life). I used acrylic paints for the inside art, then added texture paste over the top through two different nature-themed stencils:

Some pink and gold sprays over the butterflies completed the inside art, then I used spray inks to blend the white paper on the sides of the page in with the doors and added the wording.
The words are printed on plain white cardstock. This is how I usually add words to my journal pages; I have a drawer dedicated to pages of words and quotes that I have printed and word stickers. I almost always use the same font (it is called My Underwood). I used sprays to colour the word strips.

Remember that there are heaps of pictures on the Pinterest page to inspire ideas, and I love to see what you have created based on the JJ prompts and lessons.

If you have been blogging about your 2015 Journal Journey, please leave me a link in the comments section so I can check it out. You can also share in the Facebook Driver Reviver Group.

Saturday 7 March 2015

March Week Two: Spray Inks

So many questions about Spray Inks! This is a huge tutorial, so I hope you have a cup of your favourite. Let's go!

I asked the question in the Driver Reviver Facebook Group and I have addressed each question separately. The links will take you to a relevant video, if you are interested in learning more about a particular topic. The first video below is a the tutorial from me covering the basics of using sprays and how to Not Get Mud:


  Q. How do I not get mud when I use more than one colour? 
See video above.

Q. What is the difference between spray inks, spray paints and stains?
Really, I don't think there is a difference, at least not for our purposes. They are all colourants with different properties, some shimmer, some are more opaque than others, some are permanent, some are water reactive. It really is about the delivery method here. If you want to know more about the science of what makes a paint a paint as opposed to an ink, I suggest reading this.

Q.What can I use to make my own Sprays ?
By experimenting with what you have. There are lots of art supplies that can double as DIY sprays. I have used:
  • Acrylic paints (Lumiere metallic and plain)
  • Daler Rowney Artist Acrylic Inks
  • Food colouring
  • Re-inkers (for stamp pads and pens)


  • Some people add a dollop of glue such as Mod Podge of something similar (gum arabic) but I have never done this, so I cannot tell you if it makes any difference to the finished product. 
  • You can also make your own shimmer sprays by adding a product called Perfect Pearl Powder. 
  • The ratio of water to colourant will determine how the finished spray looks. 
  • You have to experiment.
  • The food colouring gives a very bright translucent spray and is reactivate when re-wet. 
  • The sprays made from acrylic paints and inks are pretty much waterproof once dry.
  •  The Acrylic Inks (dropper bottles, bottom right of the photo) make a spray with great depth and coverage, I think because they are already very liquid, but with a high concentration of colour pigments. 
  • Good empty spray bottles to look out for are the Ranger Mini Misters, or Kaisercraft spray bottles. 
  • You can also find empty spray bottles at discount/dollar stores and on eBay. 
Q. How do I stop inks reactivating/moving around when I add another (wet) layer? 
Sorry to be the bearer of bad news, but if you are using Dylusions sprays or Distress range (the Ink pads, Stains and Sprays are all the same formula), the answer is: you can't.  
These particular inks are designed to reactivate when re-wet to be able to execute particular techniques. The good news is there are other sprays that are permanent when dry heat set: Adirondack Color Wash and Lindy's Stamp Gang Flat Fabio. If you added a Dylusions spray over a base layer Color Wash or Flat Fabio, the first layer would not be affected. If you reverse the order of the sprays, however, the two would mix.

OK, so after much searching I have found a video tutorial that tests three products/methods to seal Dylusions. 
To summarise: Golden Air Brush Medium is applied with a spray bottle; Golden Semi Gloss Soft Gel Medium is applied with a Gelli Arts printing plate and Golden Matte Medium is mixed with water and sprayed on. The first two work better than the last.
Just warning you, the video is 24 minutes long, and there are no cheap solutions here, but if you REALLY want to be able to do this, here you go:

(The 'jelly plate' she uses in the first method is a Gelli Arts printing plate. In a few months we will be looking at various monoprinting techniques, one of which will be the gelatine plate, so hopefully you can contain your curiosity for a while.)

Occupational Health and Safety  
(thank you Sue, for giving me the name of this section)

Contain the Mess
  • Cover your work surface and surrounds. Sprays travel much further than you expect. 
  • Move your iPad and your phone well out of the way.  
  • You can also use a box to spray in.


  • Wear old clothes or an apron. You can also wear gloves if you don't want to end up with hands like this. Many inks stain the skin and can take a day to come off.

How to Treat and Prevent Clogging
  • KEEP THE LIDS ON YOUR SPRAYS. This will help prevent clogging. 
  • Wipe the sprayer before putting the lid back on. 
  • If you do get a clogged sprayer, pull it apart and soak it in warm water for a while. 
  • If you lose the lid from a bottle, cover the spray hole with a piece of tape to prevent the spray from drying in the hole.
  • Shake glimmer sprays well before spraying so that the glimmer is thoroughly dispersed in the liquid and not sitting on the bottom of the bottle ready to be sucked up all at once. 
  • Tattered Angles, the makers of the original Glimmer Mist, recommend shaking the bottle from side to side (like a bell) NOT up and down. 
Q. What are some different or unusual ways to use sprays?

Q. How do I get soft colours?
Can I stamp with Spray Inks?
Yes! Watch this:


Sunday 1 March 2015

March Week One: Inclusions


Hello Arty Friends!

This month's theme is Nature. Whether you love outdoor activities like hiking, boating, and mountain climbing, or prefer to keep a pane of glass between yourself and the great outdoors, I'm sure that nature will provide abundant inspiration for your creativity. If you ever feel like getting some nature-inspired eye candy, I suggest you visit Design-Seeds.com and just scroll through the beautiful photos:


Design Seeds celebrate colors found in nature and the aesthetic of purposeful living. - See more at: http://design-seeds.com/about#sthash.7FccjnlN.dpuf


Onto this month's first technique: 
Inclusions 
To me, an inclusion in anything that you put into your art journal that expands the available real estate in your journal (like building on an extra room in your house). 

Inclusions can be:
  • extensions to pages, 
  • elements that are inserted into the spine of a stich-bound book (these are called Tip-Ins: see this website for a really good explanation and examples), 
  • pages made into pockets, 
  • pre-made envelopes and pockets stuck onto pages 
  • hidden elements such as doors, or concertina pages.
I have included videos on a variety of different types of inclusions, because some people are using loose paper for their journals, other people are working in bound books. 

All of the videos are by Janet B. on YouTube. I have also compiled a YouTube Playlist with many other examples. I think once you watch the below videos, you will have a really good idea of how diverse inclusions can be. The videos should all play without you having to leave this page, but if you need to watch them on YouTube, I have included the link address below each video.

Extensions:  

https://www.youtube.com/watch?v=n7-itFgXcdA

Doors:

  https://www.youtube.com/watch?v=g3uZFUKGRXU


https://www.youtube.com/watch?v=xzF-If7pa1c

Tip-Ins: Please only watch this video if you work in a stitch- or spiral-bound (book style) journal https://www.youtube.com/watch?v=4c5fJjBcBAc


Next week's lesson is going to be about Spray Inks.